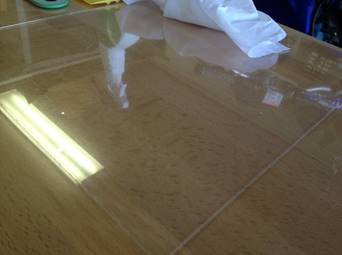
 1: Preferred Practice: Install “fresh” glass or plastic – no pits or scratches in the surface. Clean the surface, removing any dust or dirt particles. Use a micro cloth, if possible. Brawny paper towels work well, too.
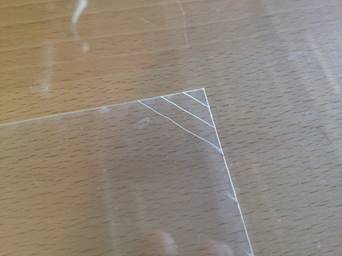 2: Run your finger over the edges of the TearOff “tabs” – the diagonal cuts in the corner of the TearOffs –to identify the top of the stack.
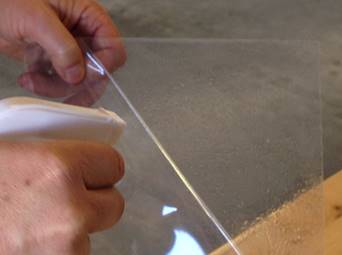 3: Remove the “Release Liner” by using a piece of Scotch tape. Stick (the tape) to the edge/corner of the Release Liner on the bottom of the stack, and peel it back exposing 1/3 of the adhesive.
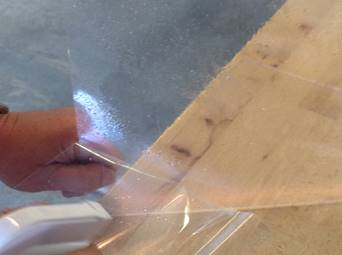 4: Spray the application fluid on the exposed adhesive area liberally, as you peel away the protective liner. Be careful not to grab the adhesive with your fingers, as this will create a big finger print in the adhesive! Completely remove the liner and spray the adhesive area 100%.
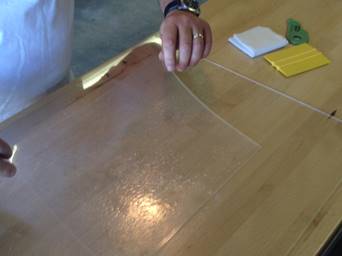 5: Place the TearOff on the surface, with adhesive or base layer (bottom) side down.
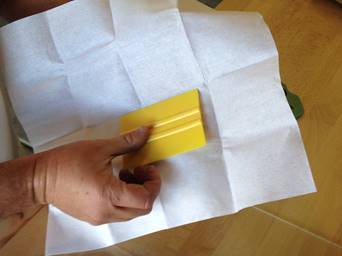 6: Use your squeegee to press all the moisture from out beneath the TearOffs. Once the majority of moisture has been pressed out, wrap the squeegee in a paper towel to absorb the trace moisture from the edge to finish. Reposition the paper towell over and over, using dry towell to draw out any moisture at the edge.
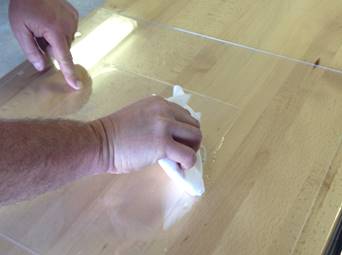 7: Lastly, squeegee any trapped air, pressing out all traces of moisture. Let cure in a warm, dry environment for best results! Trapped trace moisture will usually evaporate in a dry environment in 24-48 hours.
 8: Get back to work! Questions? Give us a call at 928.273.4944